
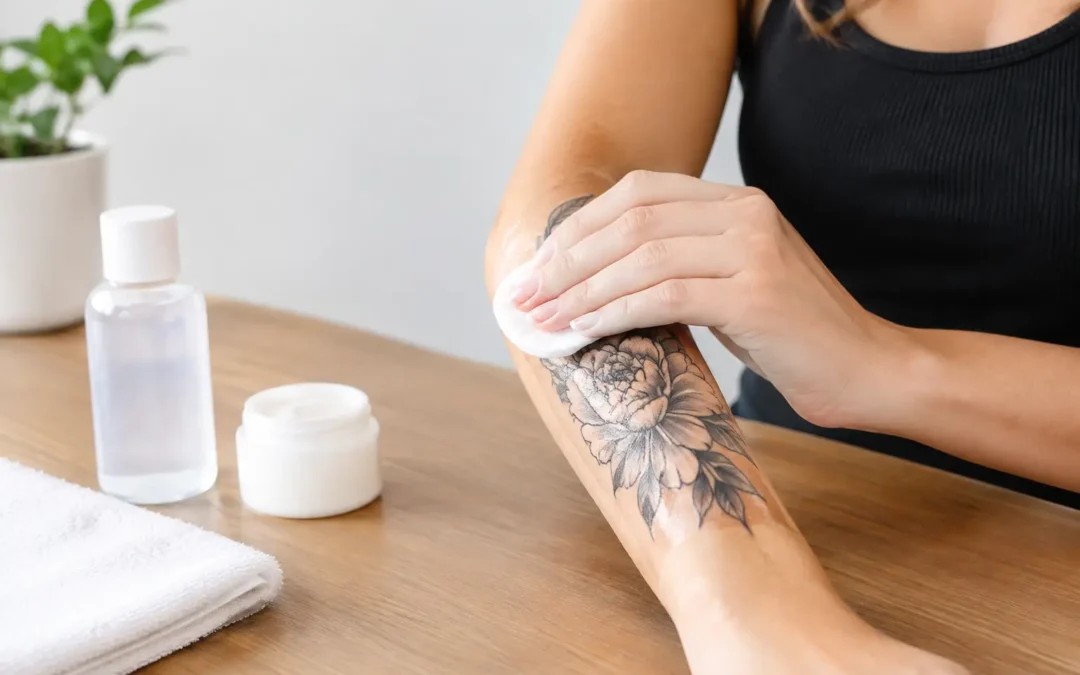
Your tattoo does not stop being a serious piece of art when you leave the chair. The first few weeks determine how well those lines, shading, and color settle into the skin. This guide to tattoo aftercare timeline gives you a clear day-by-day view of what healing can look like, what your tattoo needs, and when it is time to call your artist or a medical professional.
Every custom tattoo heals a little differently. Placement, size, color saturation, skin type, session length, and how closely you follow aftercare all play a part. Your artist’s instructions come first, especially if they use a specific protective wrap or recommend a particular aftercare product.
The Tattoo Aftercare Timeline Starts at the Studio
A fresh tattoo is an open wound, but it is also carefully applied artwork. Clean technique and proper bandaging give the healing process a strong start. Once your artist applies the initial bandage, leave it on for the amount of time they recommend. Do not lift an edge to peek at the tattoo, and do not let friends touch it.
There are different types of wraps. A traditional bandage is usually removed after a few hours, while an adhesive film bandage may stay on longer. If you have an adhesive film, seeing a small amount of fluid, ink, and plasma collect beneath it can be normal. It may look dramatic, especially with a bold black-and-grey piece or a saturated color tattoo, but it does not mean the tattoo is ruined.
If a film bandage leaks, comes loose, or allows water and dirt underneath, remove it as instructed. Never try to tape it back down over compromised skin.
Day 0: Keep It Clean, Covered, and Calm
When it is time to remove your bandage, wash your hands first. Then gently wash the tattoo with lukewarm water and a mild, fragrance-free soap. Use your fingertips, not a washcloth, sponge, or exfoliating glove. The goal is to remove excess plasma and ointment without scrubbing the skin.
Pat the area dry with a clean paper towel and let it air dry briefly. Apply only a very thin layer of the aftercare product your artist recommends. More product does not mean more healing. A heavy layer can trap moisture, clog pores, and create irritated, overworked skin.
Tenderness, warmth, light redness, and a small amount of clear fluid are common on the first day. Treat the area gently. Choose loose, clean clothing that will not rub the design, particularly if the tattoo is on your ribs, thigh, shoulder, or calf.
Days 1 Through 3: The Tender Stage
During the first few days, wash the tattoo gently two or three times a day, depending on your artist’s direction and your activity level. After each wash, apply a small amount of unscented moisturizer or approved tattoo aftercare. Your skin should feel hydrated, not greasy or suffocated.
You may notice ink transfer on your clothing or bedding. This is common, but clean sheets and loose clothing matter. Avoid sleeping directly on the tattoo when possible. If you wake up stuck to fabric, do not pull it free. Wet the fabric gently with clean lukewarm water until it releases.
Exercise requires some judgment. Light movement can be fine, but avoid anything that causes heavy sweating, friction, or repeated stretching across the tattooed area. A fresh forearm tattoo and a fresh inner-thigh tattoo do not face the same challenges. If your tattoo sits near a joint, be mindful of deep bends and rubbing from compression gear.
In Tampa’s heat and humidity, sweat can become a bigger issue. Keep the tattoo clean after being outdoors, wear breathable clothing, and skip long, sweaty activities until the initial tenderness settles.
Days 4 Through 7: Flaking Is Part of Healing
This is often the stage clients worry about most. The tattoo may begin to feel dry, tight, itchy, and flaky. Thin pieces of colored or darkened skin can come away in the shower or on your clothes. That is expected.
What is not helpful is picking. Do not scratch, peel, or pull at flakes, even if the tattoo looks uneven for a few days. Pulling skin away too early can disturb healing and leave patchy spots in an otherwise clean design. If itching becomes distracting, gently wash the area, pat it dry, use a small amount of moisturizer, and leave it alone.
The tattoo can also look dull or cloudy at this point. Fine lines may seem less crisp and color may look muted under the healing skin. Trust the process. The visible surface is changing quickly, but the tattoo is still settling below it.
Weeks 2 and 3: The Itchy, Cloudy Phase
By the second week, most heavy flaking has eased, though dry patches and mild itching may continue. A thin, shiny layer of healing skin can make the artwork look faded or slightly hazy. This is sometimes called the “silver skin” stage, and it is temporary.
Continue gentle washing and light moisturizing. You do not need to keep applying ointment all day. In fact, if the tattoo feels normal and hydrated, less is often better. Let your skin breathe while protecting it from friction, sun exposure, and dirty water.
This is also when people are tempted to return to pools, beaches, hot tubs, and long baths. Wait. Submerging a healing tattoo exposes it to bacteria and can soften fragile healing skin. Quick showers are fine. Swimming and soaking should wait until the tattoo is fully closed, smooth, and free of flakes or scabs.
Weeks 4 Through 6: Healing Below the Surface
A tattoo may look healed after two or three weeks, but deeper layers of skin can take longer to recover. By weeks four through six, the design should feel smooth and comfortable, with no scabbing, weeping, or persistent tenderness.
This is the time to shift from aftercare to long-term care. Moisturize your skin regularly and protect the tattoo from the sun. Once the skin is fully healed, broad-spectrum sunscreen helps preserve contrast, color, and detail. Sun exposure is especially hard on fine-line tattoos, soft grey washes, and bright color work.
For larger projects such as sleeves, back pieces, Japanese-inspired work, or cover-ups, give every section the same attention. A large tattoo may heal unevenly simply because different areas of the body experience different levels of movement, clothing friction, and sun exposure.
What Can Interfere With Tattoo Healing
A few common habits cause more trouble than most clients expect. Avoid scratching or picking, soaking the tattoo, exposing it to direct sun, wearing tight dirty clothing, and using scented lotions or harsh body products. Keep pets from licking or rubbing against the tattoo, too.
Do not use rubbing alcohol, hydrogen peroxide, petroleum jelly, or thick layers of random home remedies. These products can irritate the skin or create a barrier that is too heavy for a fresh tattoo. When in doubt, use the simple care plan given by your artist rather than switching products every day.
When to Contact Your Artist or a Medical Professional
Normal healing includes mild redness, warmth, swelling, flaking, and itching that gradually improve. Contact your artist if you have a question about your wrap, product, or an area that seems to be healing differently than expected. A professional artist would rather help early than have you guess.
Seek medical advice promptly if you notice any of the following:
- Redness or swelling that spreads or becomes worse after the first few days
- Thick yellow or green discharge, a foul odor, or increasing pain
- Fever, chills, or feeling unwell along with changes around the tattoo
- Raised rash, hives, or significant burning that may suggest a reaction
Do not try to cover up a possible infection with extra ointment. Your health comes first, and getting appropriate care quickly protects both your skin and your artwork.
A custom tattoo deserves patience after the appointment, not just excitement on the drive home. Give it clean care, protect it from the Florida sun and water, and let the healing happen on its own schedule. When you are ready to turn your next idea into lasting art, Socrates Ink Gallery is ready to help you plan it with intention.